Table of Contents
Claiming a Zura Handheld System
After you have purchased your ImaCor Zura Handheld, you will be able to create your own online account and claim the handheld as your own. For more information about setting up your newly purchased handheld, please refer to our Quick Start Guide.
Note: You will need to be connected to an active internet connection.
- Download the Clarius App if you have not already.
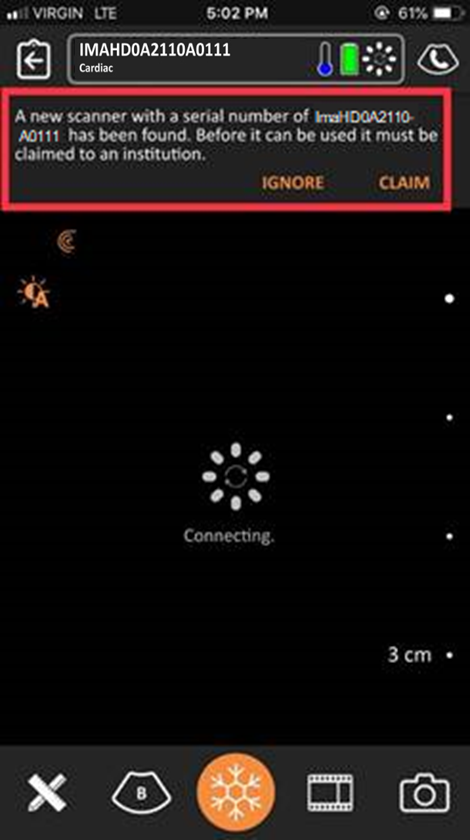
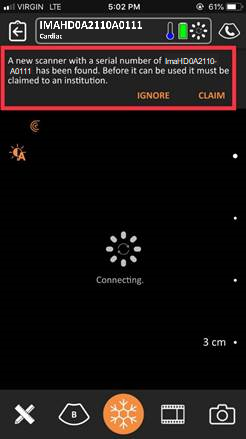
- Once you have signed into the Clarius App, enable all necessary permissions required when prompted. Insert the battery into your Zura Handheld scanner, and wait for the message to announce a new scanner is available to claim.
- Tap Claim to continue, or press Ignore to stop the claiming process. You will be prompted to create a new institution or; select an institution that is already connected with your email account if you have been invited to one.
Quick Start Guide
- Charge the Zura Handheld and/or battery completely.
- On your smart device, ensure you are connected to your secured Wi-Fi network and download the Clarius App from the App Store(iOS) or Google Play (Android).


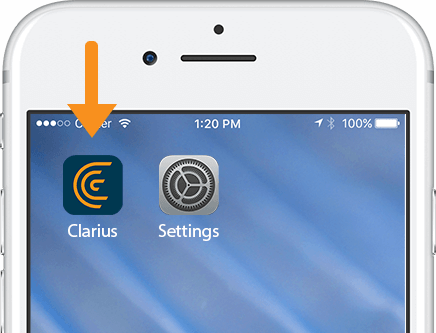
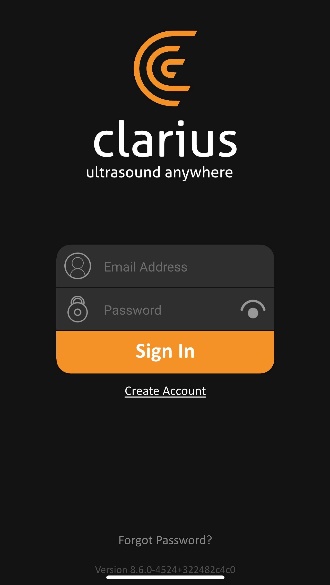
- Launch and open the Clarius App from your smart device’s home screen. Enable all prompted permissions required and create an account or sign in if you have an existing account.
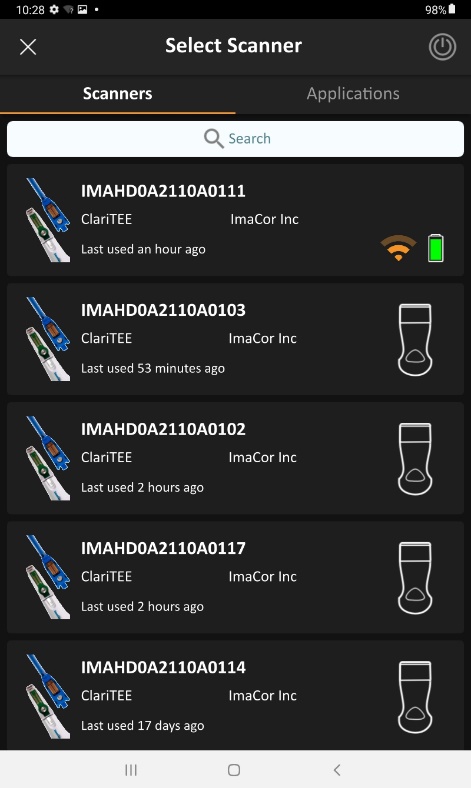
- Power on the Handheld or insert the battery in and choose Select Scanner from the App. It should take a few seconds for the claimable handheld to appear in the Clarius App. Make sure to follow the App’s instructions and tap claim when ready.
- Once the Zura Handheld has been claimed, proceed with creating a new institution name or select an existing institution. Create a new institution by tapping the plus sign.
- After the claiming process, select your Zura Handheld from the Scanner page.
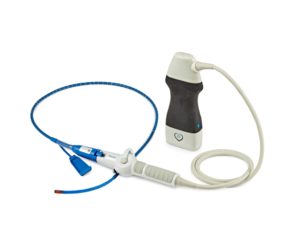
- Connect a ClariTEE® probe to start scanning.
Basic Interface Controls
Adjusting Depth
While live imaging, you can adjust the depth of the scan by sliding up and down on the image. Dozens of back-end adjustments are made to carefully optimize the image based on the depth chosen.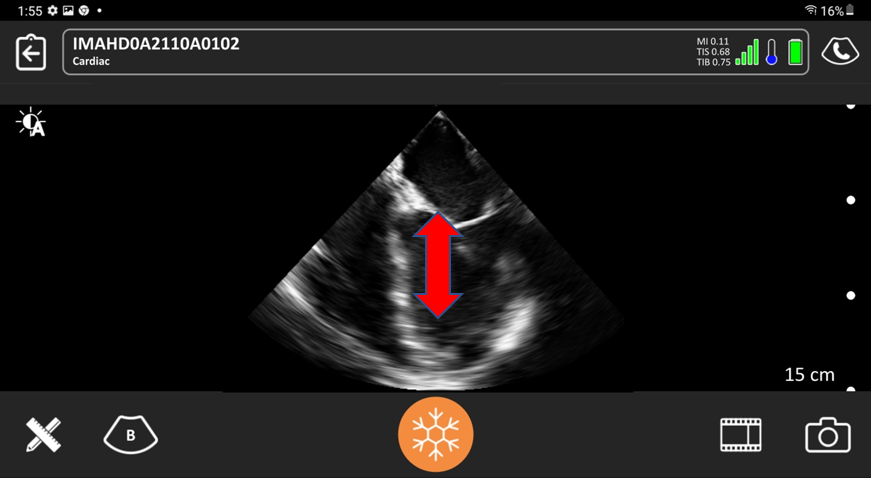
Brightness
Adjust the brightness of the image by sliding left and right. Should you require more fine control, turning off the Auto Gain icon will change the brightness to a 3 slider TGC control.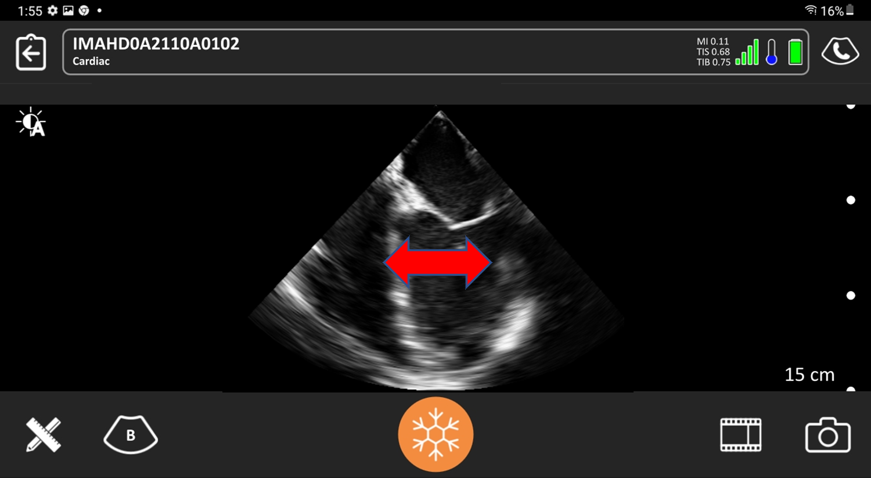
Zoom
Double tapping on the image will default to a 200% zoom level. Double tapping again will revert back to 100%. At any time while zoomed, pinching the image will give finer control of the zoom level which ranges between 100% and 500%.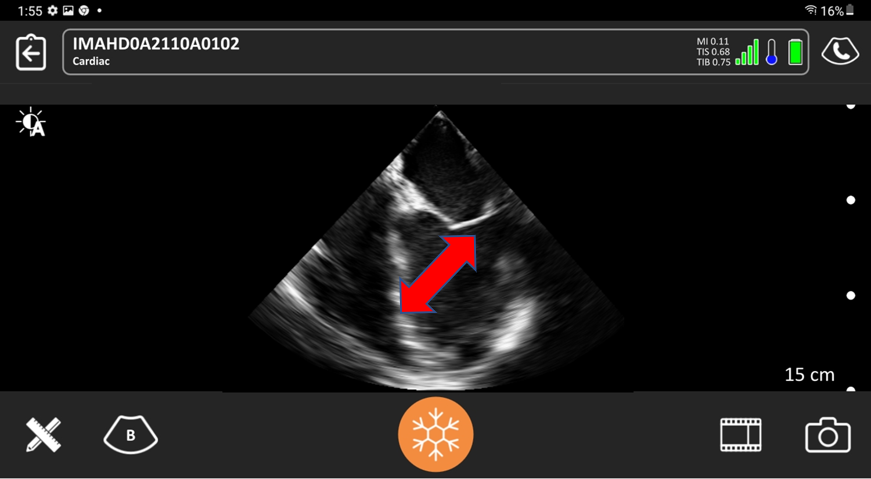
Capturing Videos and Adjusting Capture Length
Capturing Videos
- While live imaging, tap the cineloop icon. A countdown timer will display beside the icon and begin to count down as it records the cineloop video. When the counter disappears, the recording is saved.
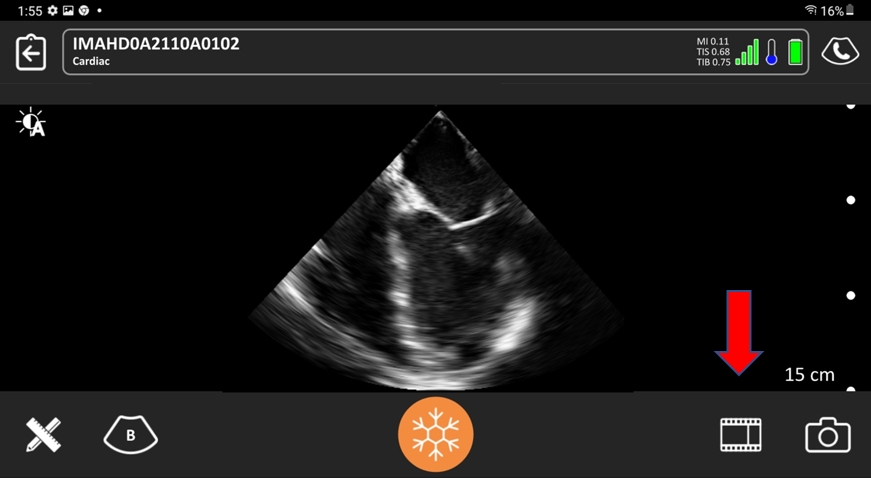
- You can prematurely stop the recording by pressing the freeze button, or tapping on the cineloop icon

- After cineloop capture, imaging will freeze by default. To continue scanning, ensure in the App settings Auto Scan Post Cine is enabled.

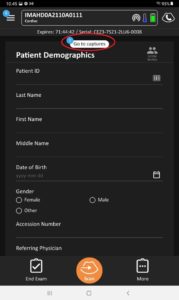
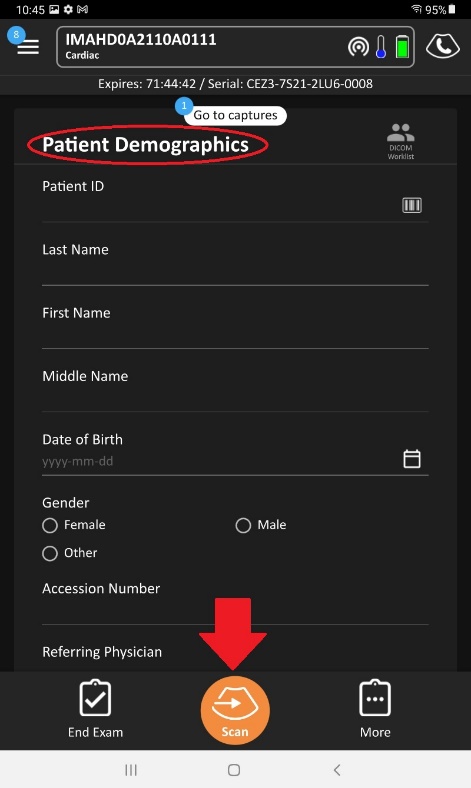
- The total number of images captured is displayed in the Go to captures bubble text box in Patient Demographics page.
Adjusting Capture Length
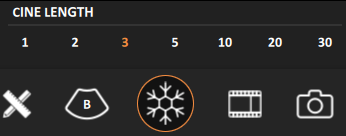
- Tap and hold the cineloop icon to display a list of time options.
- Select the desired time length.
Measurements
Measurements can be made on the live imaging screen after the image has been frozen, as well as on a captured image prior to the exam being completed. To access measurements:
- Tap the Tools icon from the bottom menu and select the appropriate measurement tool.
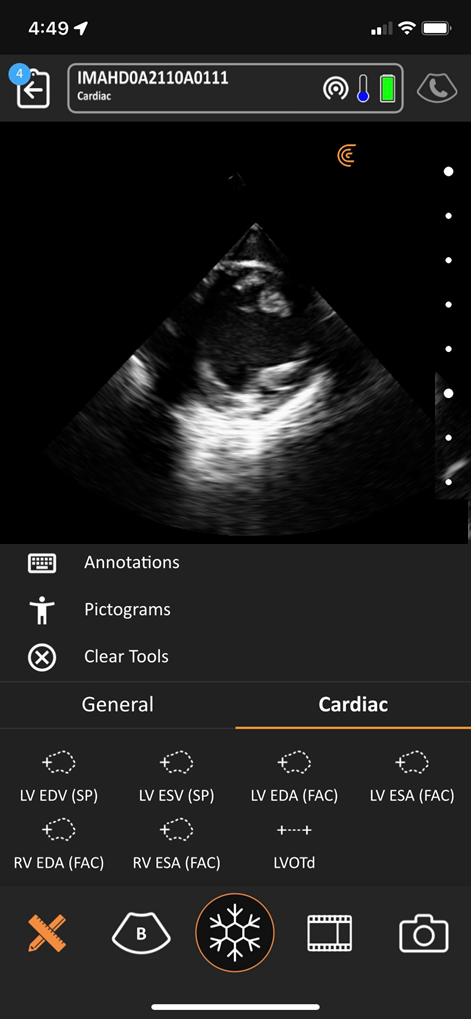
- Start by placing 1 or more calipers on the screen. For each caliper placed, a small circular hit region will be created so that caliper adjustment can be made without your finger covering the caliper crosshair.
- To perform a trace measurement, place 1 caliper on the screen and then drag it around the wall of the ventricle. Once released, the 2nd caliper is placed, and both calipers can modified to continue or reverse the trace.
- Tap the Tools icon from the bottom menu and select the appropriate measurement tool.
Exiting an Exam
- To exit or end an exam from live scanning page, tap on Back Arrow and tap End Exam icon at the bottom left corner.
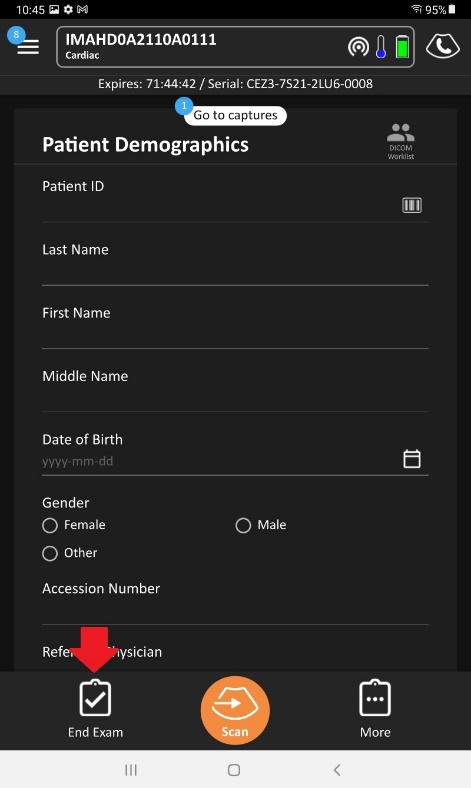
Entering Patient Demographics
Entering Demographics Details
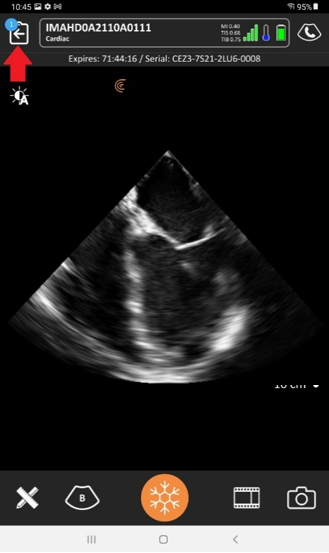
The Zura Handheld connects to the ClariTEE® probe, which has a Smart Chip to assign and save each probe to a specific patient. This allows you to easily image multiple patients using one Handheld system. You can enter the Patient Demographics information anytime (including after the exam) by tapping the Back Arrow at the top left corner of the imaging screen.

Barcode Scanning
The Zura Handheld connects to the ClariTEE® probe, which has a Smart Chip to assign and save each probe to a specific patient. This allows you to easily image multiple patients using one Handheld system. You can enter the Patient Demographics information anytime (including after the exam) by tapping the Back Arrow at the top left corner of the imaging screen.
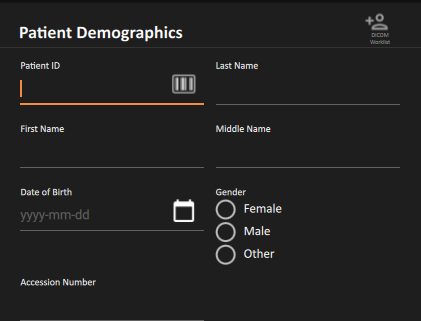
Next, tap barcode icon
 . The camera screen will be displayed. If your mobile device has not already authorized the App to capture images and videos, you may be prompted to allow this permission.
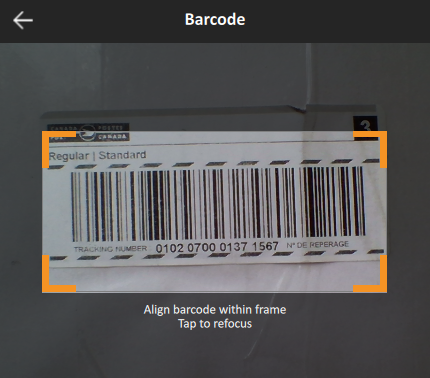
Bring the barcode into focus and the camera should automatically recognize the text and populate the field.
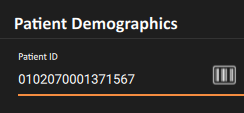
Continue for any additional patient fields that can be entered through a barcode.
Review and Delete Cineloops
To review or delete cineloops
- From the scanning page, go back to the patient demographics page by tapping the review-back icon
 and scroll down towards the Captures section, or simply tap the ‘Go to captures‘ bubble text box to redirect you straight to the captures section.
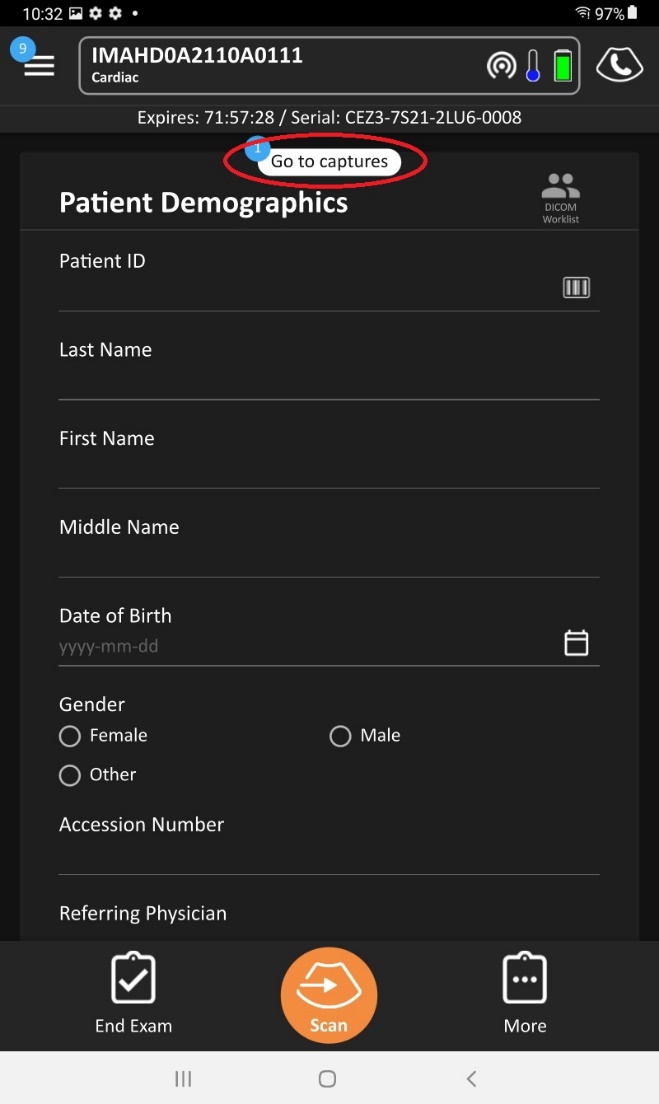
- Swipe left or right to review your captured cineloop videos.
- Tap on the trash bin icon
 next to the files that you would like to delete.
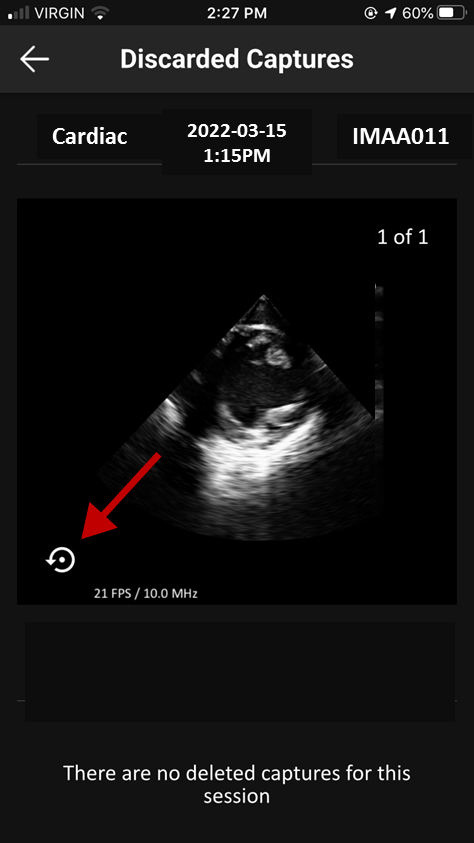
To recover deleted Cineloop videos
- Tap on the trash bin icon
 in the Captures section.
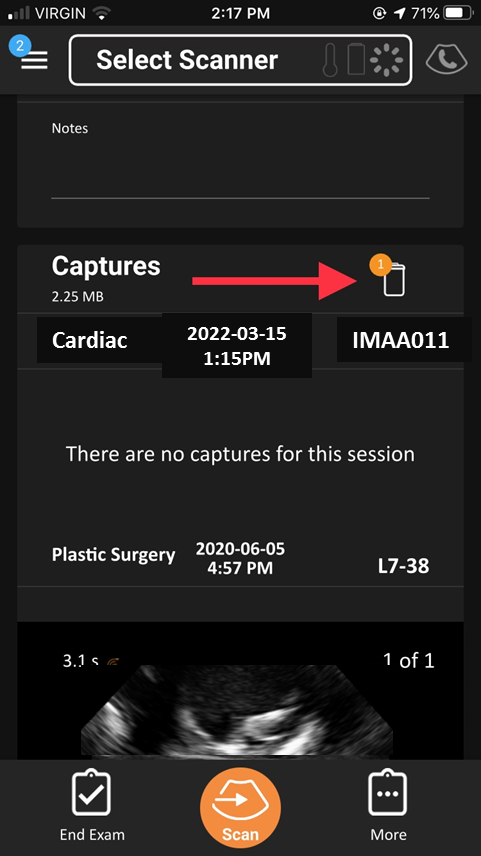
- Select the cineloop video you would like to recover, and tap on
 .
.
Uploading Exams
Upload an Exam
Once you have finished entering patient demographics and any notes, you can end the exam from the App. If Auto Exam Upload is enabled on the App’s Settings page, the App will automatically disconnect from the Handheld’s direct connection and switch to a secured network immediately in preparation to upload the exams to DICOM or a Cloud Server. If this is not enabled, the end user will need to manually switch networks in the smart device’s WiFi settings first before sending exams to the DICOM or Cloud.
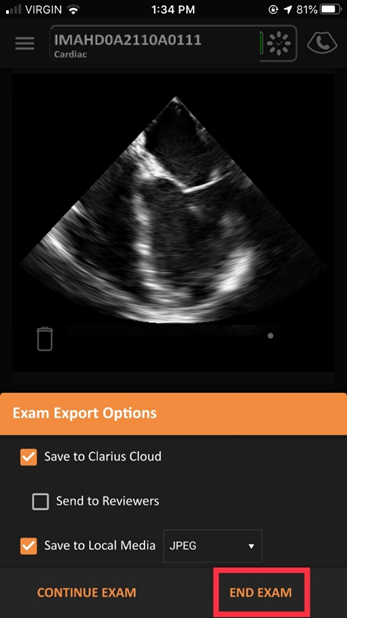
To access Exam Export Options:
- Tap End Exam on the bottom left corner from the Impressions page.
- A pop-up option will prompt the end user to select the desired location(s) to export the exam: DICOM server, Clarius Cloud, and/or Save to Local Media.
- Tap End Exam (bottom right corner) to submit.
Resubmitting Exams
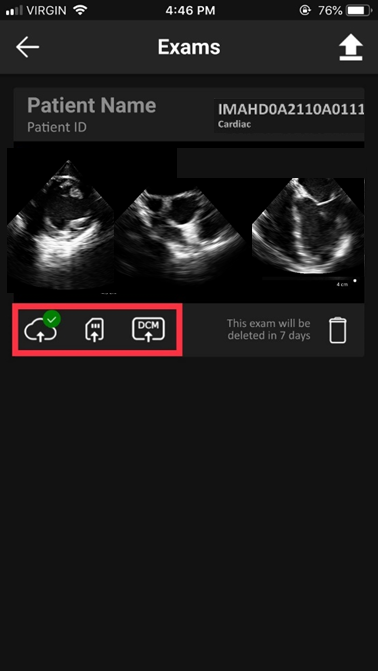
If the exam did not automatically send to DICOM or the Cloud, or if an exam resubmission is required, navigate to the Exams page from the side menu. To prevent duplicates, if the exam is already uploaded, it will not upload again.
Note: Make sure there is an active internet connection.
To resubmit:
- Tap the 3 horizontal lines on the top left hand corner of the screen.
- Select Exams and navigate to the exam required to resubmit.
- Select DCIM
 to re-send to a DICOM Server or to re-send to Cloud.
 - The status will be updated to reflect the re-submission success.
Zura Handheld Selection
Using the App
The App only displays scanners that are within your institution or if a new scanner is claimable.
- A lock icon indicates that the handheld must be granted permission for use within the institution – contact the Administrator to gain access.
- A greyed out Handheld indicates that it is currently in use.
Searching for a Device
From the Scanners page, tap and hold down on the selected Handheld will reveal an Identify Scanner bell ![]() and will trigger an audible sound to be emitted from the Zura Handheld. The LED light indicator on the Handheld will also rapidly flash with blue and red colors.
and will trigger an audible sound to be emitted from the Zura Handheld. The LED light indicator on the Handheld will also rapidly flash with blue and red colors.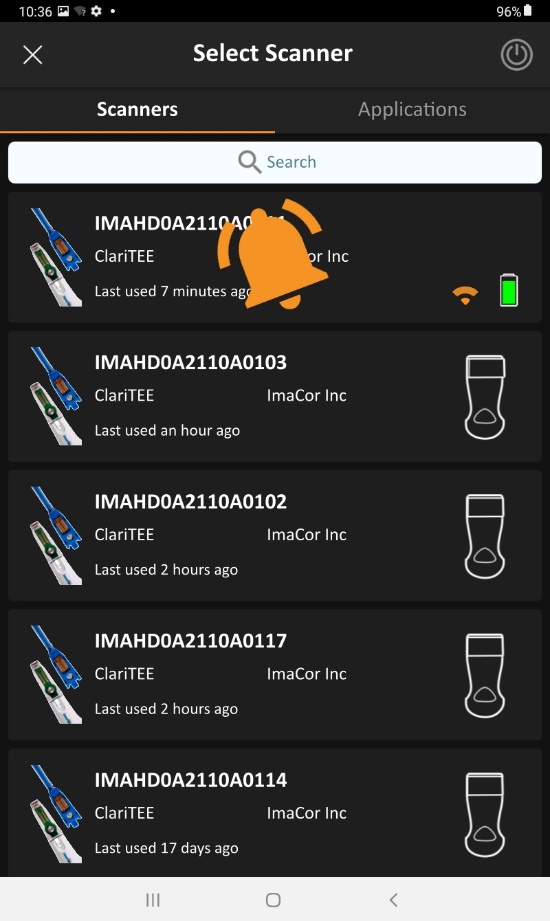
Refreshing App to see Handheld
To refresh the App for your Handheld to appear:
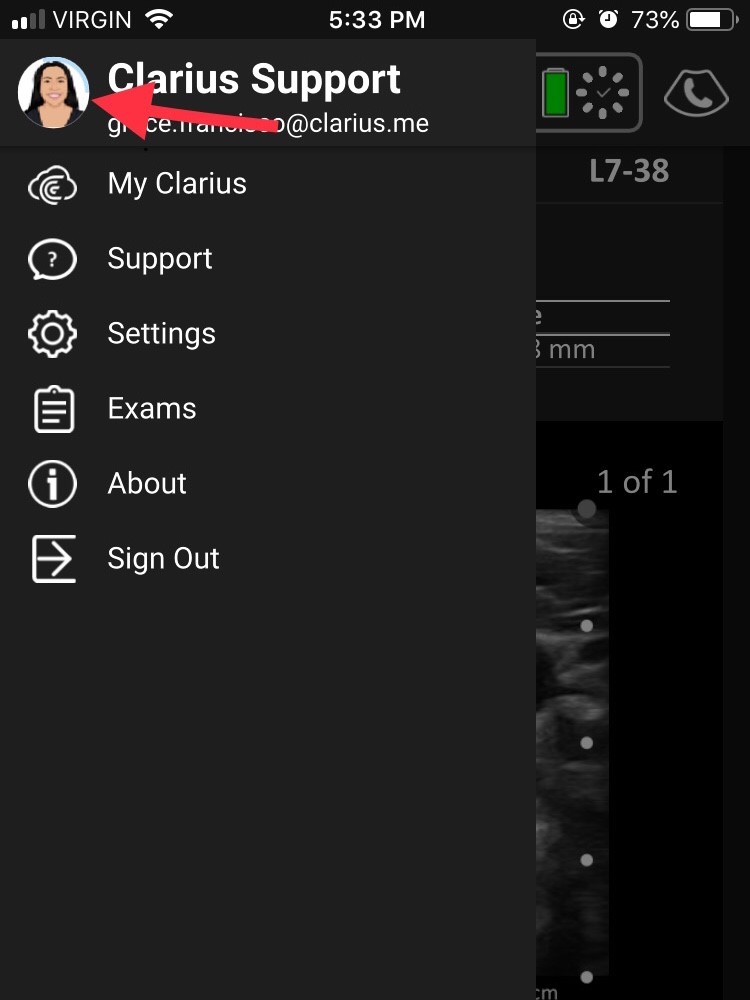
- Tap on the user profile’s picture and wait for the rotating blue ring to refresh the app.
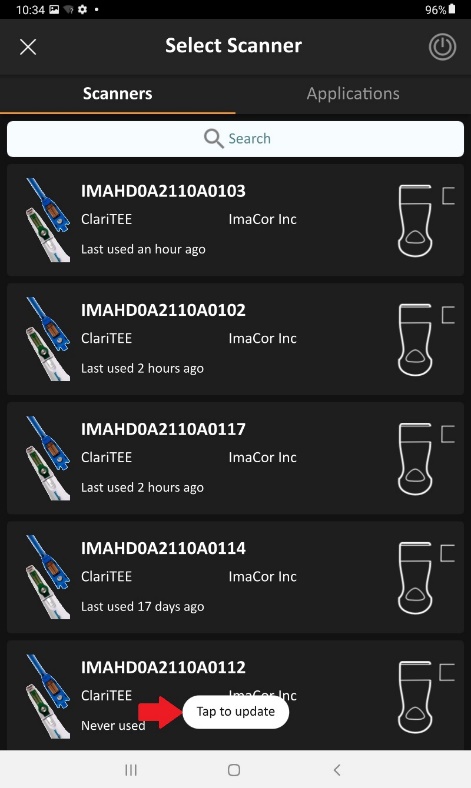
- The app will also have a pop up warning “Tap to update” to refresh the scanner’s page if it detects any available scanners around. Tap this pop-up warning to refresh the page.
Note: Ensure the smart device has Bluetooth and location services enabled.
